TronLink Setup
TronLink is the most popular TRON wallet and fully supports custom node URLs. This takes about 2 minutes.
You'll need: Your Energy-Free Node URL from the TRONAgg dashboard. If you haven't set one up yet, see Getting Started.
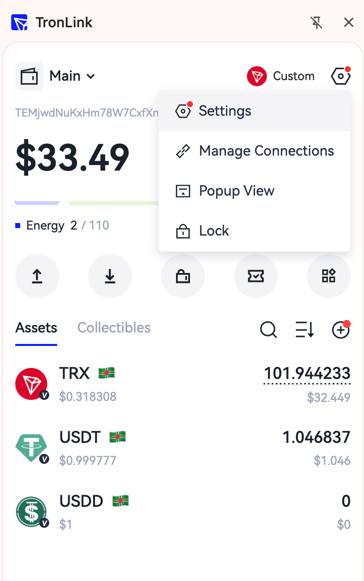
Step 1: Open Settings
Click the TronLink extension icon in your browser, then click the three dots menu (top-right) and select Settings.
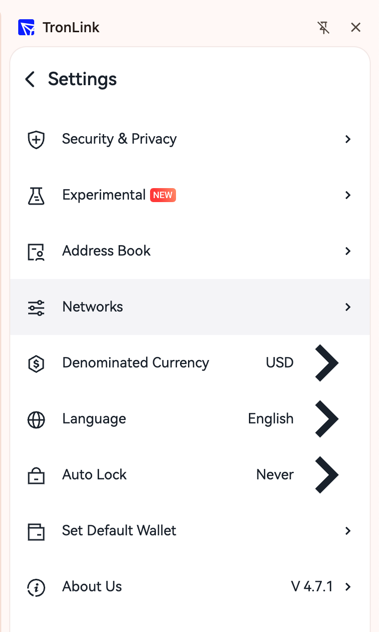
Step 2: Go to Networks
In Settings, click Networks.
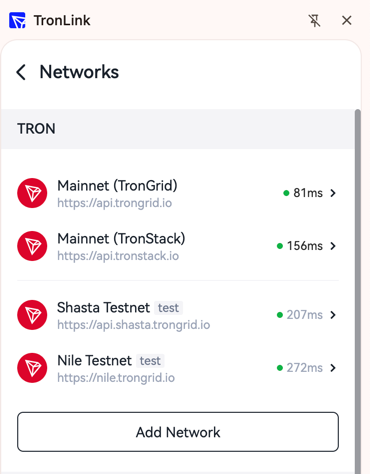
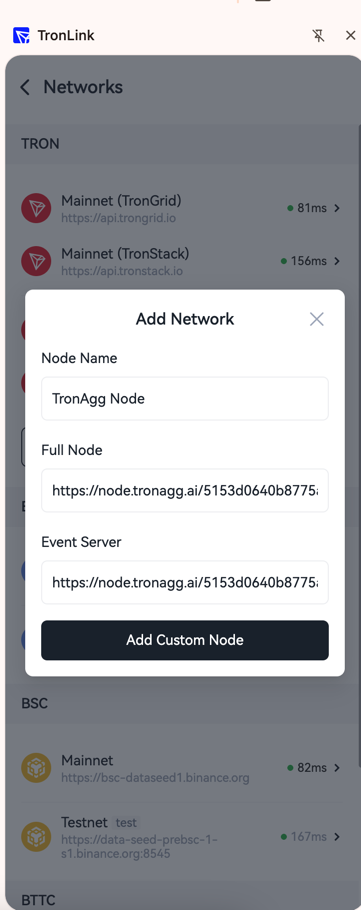
Step 3: Add a new network
Click Add Network at the bottom of the networks list.
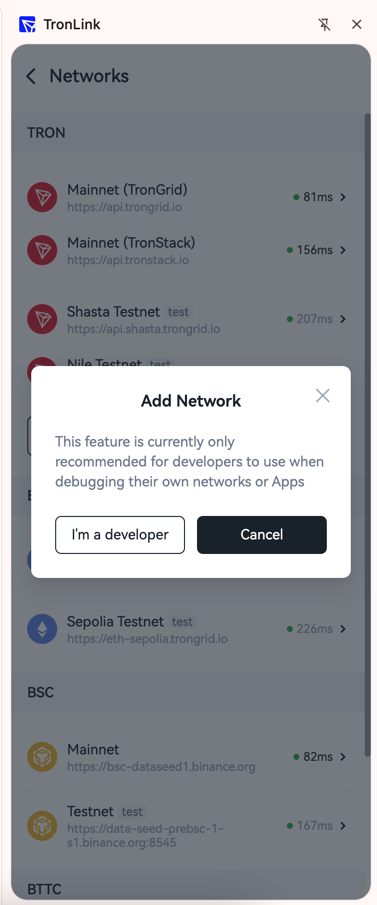
A confirmation dialog appears. Click "I'm a developer" to continue.
Step 4: Enter your node details
Fill in the form:
| Field | Value |
|---|---|
| Node Name | TronAgg Node (or any name you like) |
| Full Node | Your Energy-Free Node URL from the dashboard |
| Event Server | Same URL as Full Node |
Click Add Custom Node.
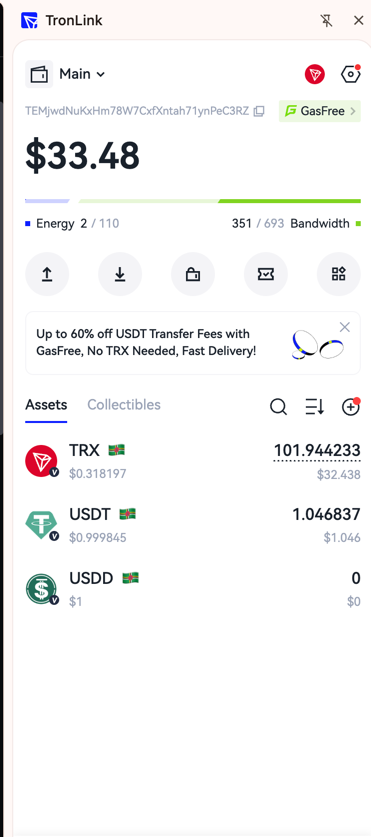
Step 5: Switch to your node
On the main TronLink screen, click the network selector (next to "Main") and choose TronAgg Node from the Custom section.

Done
Your TronLink is now connected to the Energy-Free Node. Every TRC20 transfer will automatically get energy from your TRONAgg balance.
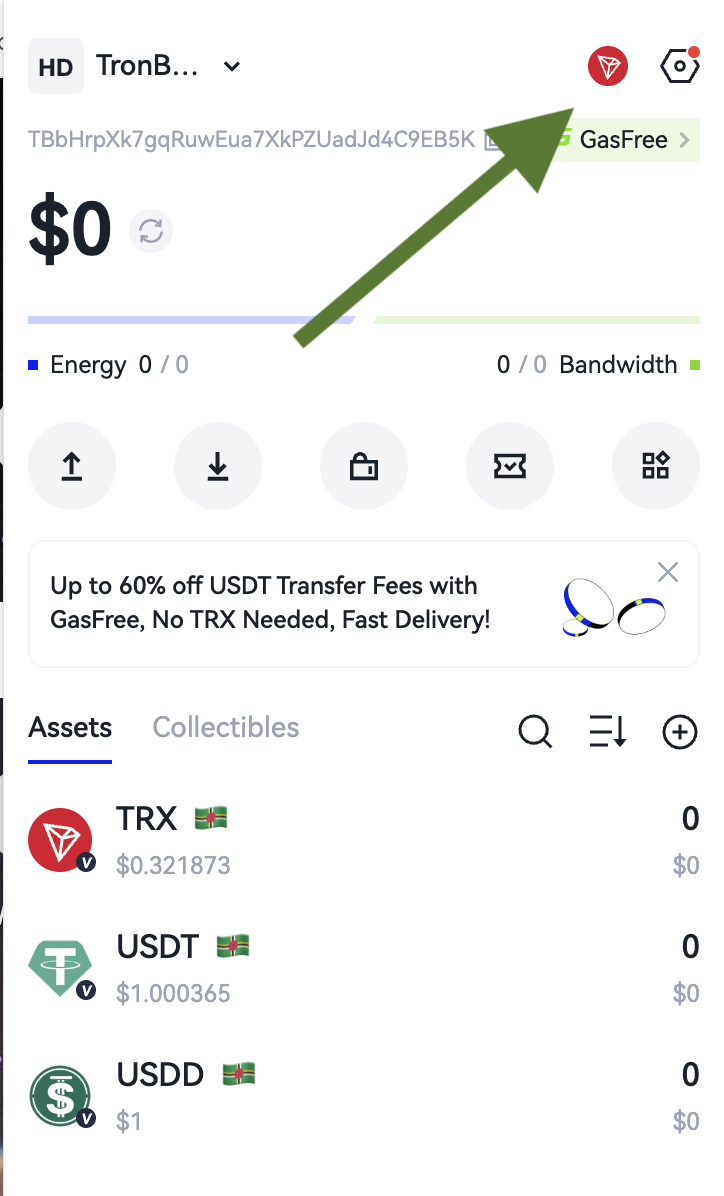
On mobile, you'll see the custom network label in the header — confirming your wallet is routed through the Energy-Free Node:
Your balances should load normally. If they don't, double-check the URL for typos or extra spaces.
Switching back
To return to the default TRON node, click the network selector and choose TRON Mainnet (TronGrid).
Your funds and tokens are on the blockchain — switching nodes never affects them.
Troubleshooting
| Problem | What to do |
|---|---|
| Balance doesn't load | Verify the URL is correct and complete, check your internet connection |
| Transaction fails | Make sure your TRONAgg balance has enough TRX for energy |
| Node doesn't appear in list | Close and reopen TronLink, then add the network again |
| "Invalid node" error | Confirm the URL starts with https:// and includes the full secret key |
Still stuck? Check the FAQ or your TRONAgg dashboard activity log for details.